Installing & Setting up the Symfony Framework
Warning: You are browsing the documentation for Symfony 2.x, which is no longer maintained.
Read the updated version of this page for Symfony 7.0 (the current stable version).
This article explains how to install Symfony in different ways and how to solve the most common issues that may appear during the installation process.
Creating Symfony Applications
Symfony provides a dedicated application called the Symfony Installer to ease the creation of Symfony applications. This installer is a PHP 5.4 compatible executable that needs to be installed on your system only once:
1
2
3
4
5
6
7
# Linux and macOS systems
$ sudo mkdir -p /usr/local/bin
$ sudo curl -LsS https://symfony.com/installer -o /usr/local/bin/symfony
$ sudo chmod a+x /usr/local/bin/symfony

# Windows systems
c:\> php -r "file_put_contents('symfony', file_get_contents('https://symfony.com/installer'));"
Note
In Linux and macOS, a global symfony command is created. In Windows,
move the symfony file to a directory that's included in the PATH
environment variable and create a symfony.bat file to create the global
command or move it to any other directory convenient for you:
1
2
3
4
5
6
7
8
9
10
11
12
13
# for example, if WAMP is used ...
c:\> move symfony c:\wamp\bin\php
# create symfony.bat in the same folder
c:\> cd c:\wamp\bin\php
c:\> (echo @ECHO OFF & echo php "%~dp0symfony" %*) > symfony.bat
# ... then, execute the command as:
c:\> symfony

# moving it to your projects folder ...
c:\> move symfony c:\projects
# ... then, execute the command as
c:\> cd projects
c:\projects\> php symfony
Once the Symfony Installer is installed, create your first Symfony application
with the new command:
1
$ symfony new my_project_nameThis command creates a new directory called my_project_name/ that contains
an empty project based on the most recent stable Symfony version available. In
addition, the installer checks if your system meets the technical requirements
to execute Symfony applications. If not, you'll see the list of changes needed
to meet those requirements.
Note
If the installer doesn't work for you or doesn't output anything, make sure that the PHP Phar extension is installed and enabled on your computer.
Note
If the SSL certificates are not properly installed in your system, you may get this error:
cURL error 60: SSL certificate problem: unable to get local issuer certificate.
You can solve this issue as follows:
- Download a file with the updated list of certificates from https://curl.haxx.se/ca/cacert.pem
- Move the downloaded
cacert.pemfile to some safe location in your system Update your
php.inifile and configure the path to that file:1 2 3 4 5
; Linux and macOS systems curl.cainfo = "/path/to/cacert.pem" ; Windows systems curl.cainfo = "C:\path\to\cacert.pem"
Basing your Project on a Specific Symfony Version
In case your project needs to be based on a specific Symfony version, use the
optional second argument of the new command:
1 2 3 4 5 6 7 8 9 10 11 12 13 14
# use the most recent version in any Symfony branch
$ symfony new my_project_name 2.8
$ symfony new my_project_name 3.1

# use a specific Symfony version
$ symfony new my_project_name 2.8.3
$ symfony new my_project_name 3.1.5

# use a beta or RC version (useful for testing new Symfony versions)
$ symfony new my_project 2.7.0-BETA1
$ symfony new my_project 2.7.0-RC1

# use the most recent 'lts' version (Long Term Support version)
$ symfony new my_project_name lts
Each version has its own documentation, which you can select on any documentation page.
Note
Read the Symfony Release process to better understand why there are several Symfony versions and which one to use for your projects.
Creating Symfony Applications with Composer
If you still use PHP 5.3 or can't use the Symfony installer for any reason, you can create Symfony applications with Composer, the dependency manager used by modern PHP applications.
If you don't have Composer installed in your computer, start by
installing Composer globally. Then, execute the
create-project command to create a new Symfony application based on its
latest stable version:
1
$ composer create-project symfony/framework-standard-edition my_project_nameYou can also install any other Symfony version by passing a second argument to
the create-project command:
1
$ composer create-project symfony/framework-standard-edition my_project_name "2.8.*"Tip
If your Internet connection is slow, you may think that Composer is not
doing anything. If that's your case, add the -vvv flag to the previous
command to display a detailed output of everything that Composer is doing.
Running the Symfony Application
Symfony leverages the internal PHP web server (available since PHP 5.4) to run applications while developing them. Therefore, running a Symfony application is a matter of browsing to the project directory and executing this command:
1
2
$ cd my_project_name/
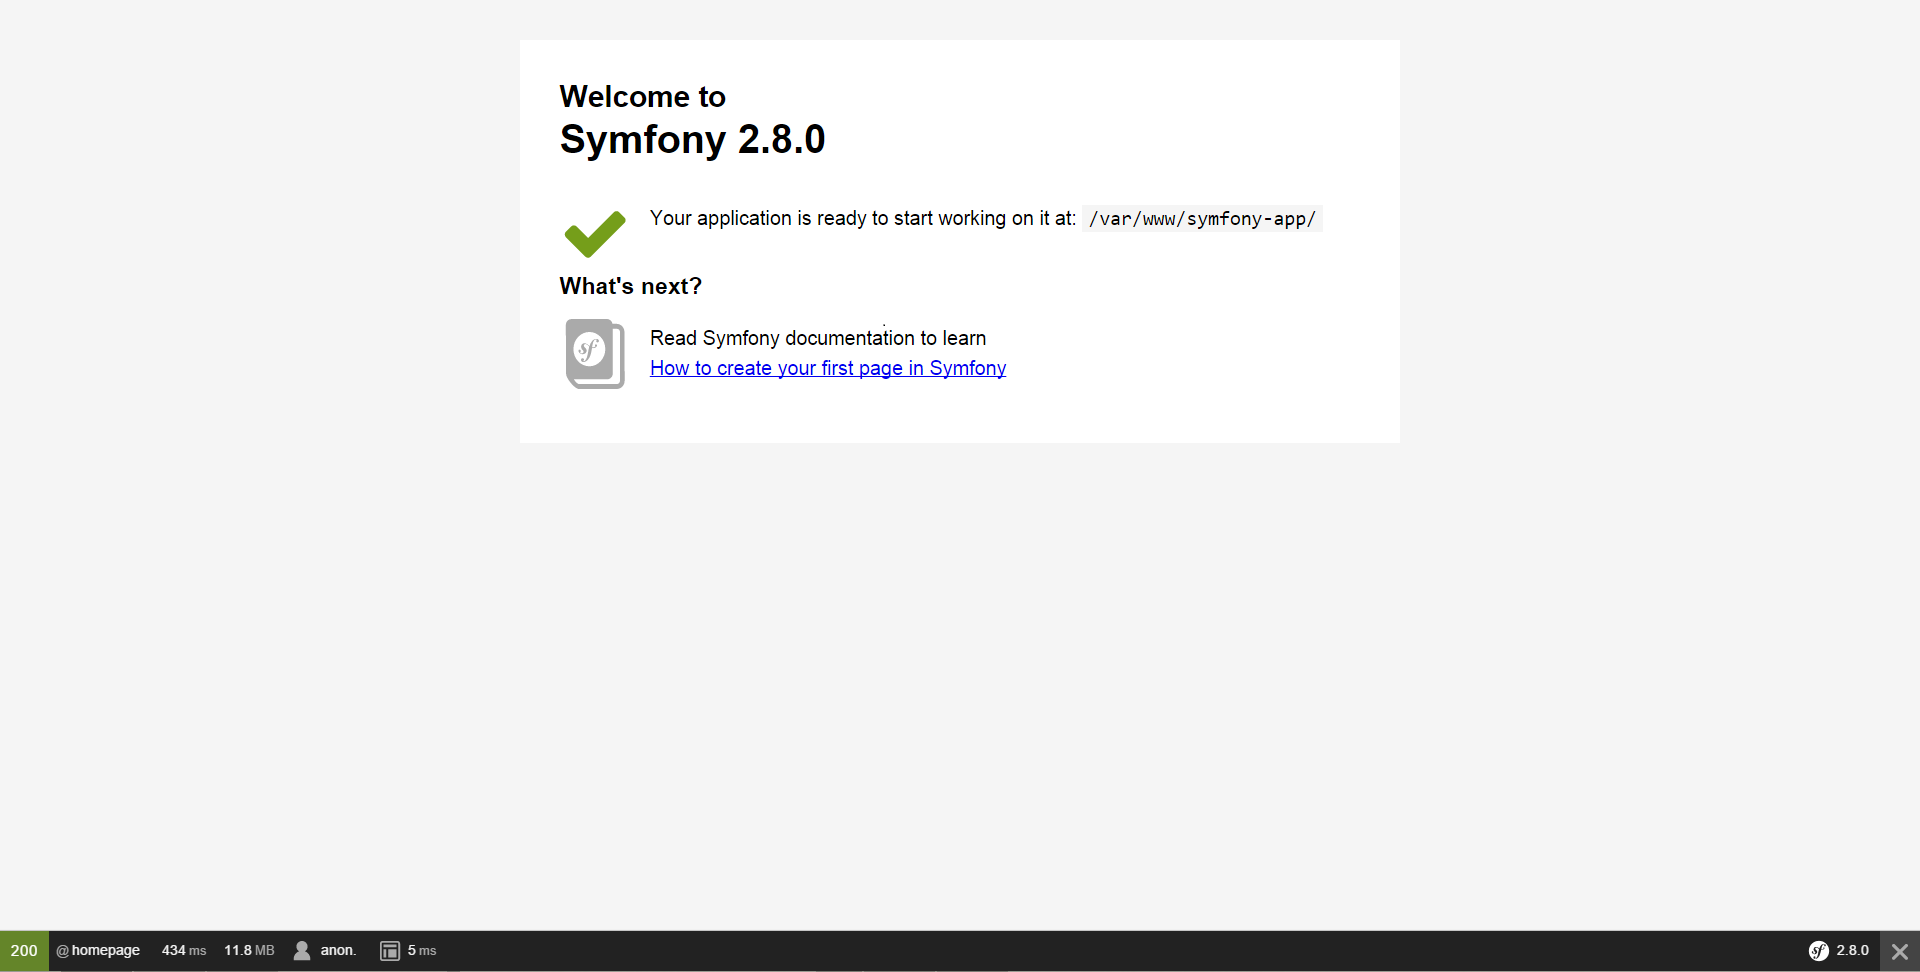
$ php app/console server:runThen, open your browser and access the http://localhost:8000/ URL to see the
Welcome Page of Symfony:
If you see a blank page or an error page instead of the Welcome Page, there is a directory permission misconfiguration. The solution to this problem is explained in the Setting up or Fixing File Permissions.
When you are finished working on your Symfony application, stop the server by
pressing Ctrl+C from the terminal or command console.
Tip
PHP's internal web server is great for developing, but should not be used on production. Instead, use Apache or Nginx. See Configuring a Web Server.
Checking Symfony Application Configuration and Setup
The Symfony Installer checks if your system is ready to run Symfony applications. However, the PHP configuration for the command console can be different from the PHP web configuration. For that reason, Symfony provides a visual configuration checker. Access the following URL to check your configuration and fix any issue before moving on:
1
http://localhost:8000/config.phpFixing Permissions Problems
If you have any file permission errors or see a white screen, then read Setting up or Fixing File Permissions for more information.
Updating Symfony Applications
At this point, you've created a fully-functional Symfony application! Every Symfony
app depends on a number of third-party libraries stored in the vendor/ directory
and managed by Composer.
Updating those libraries frequently is a good practice to prevent bugs and
security vulnerabilities. Execute the update Composer command to update them
all at once (this can take up to several minutes to complete depending on the
complexity of your project):
1
2
$ cd my_project_name/
$ composer update
Tip
Symfony provides a command to check whether your project's dependencies contain any known security vulnerability:
1
$ php app/console security:checkA good security practice is to execute this command regularly to be able to update or replace compromised dependencies as soon as possible.
Installing the Symfony Demo or Other Distributions
You've already downloaded the Symfony Standard Edition: the default starting project for all Symfony apps. You'll use this project throughout the documentation to build your app!
Symfony also provides some other projects and starting skeletons that you can use:
- The Symfony Demo Application
- This is a fully-functional application that shows the recommended way to develop Symfony applications. The app has been conceived as a learning tool for Symfony newcomers and its source code contains tons of comments and helpful notes.
- The Symfony CMF Standard Edition
- The Symfony CMF is a project that helps make it easier for developers to add CMS functionality to their Symfony applications. This is a starting project containing the Symfony CMF.
- The Symfony REST Edition
- Shows how to build an application that provides a RESTful API using the FOSRestBundle and several other related Bundles.
Installing an Existing Symfony Application
When working collaboratively in a Symfony application, it's uncommon to create a new Symfony application as explained in the previous sections. Instead, someone else has already created and submitted it to a shared repository.
It's recommended to not submit some files (parameters.yml)
and directories (vendor/, cache, logs) to the repository, so you'll have to do
the following when installing an existing Symfony application:
1
2
3
4
5
6
7
8
9
10
# clone the project to download its contents
$ cd projects/
$ git clone ...

# make Composer install the project's dependencies into vendor/
$ cd my_project_name/
$ composer install

# now Composer will ask you for the values of any undefined parameter
$ ...
Keep Going!
With setup behind you, it's time to Create your first page in Symfony.
Go Deeper with Setup
- Using Symfony with Homestead/Vagrant
- How to Create and Store a Symfony Project in Git
- How to Use PHP's built-in Web Server
- Configuring a Web Server
- Installing Composer
- Upgrading a Third-Party Bundle for a Major Symfony Version
- Setting up or Fixing File Permissions
- How to Create and Store a Symfony Project in Subversion
- How to Install or Upgrade to the Latest, Unreleased Symfony Version
- Upgrading a Major Version (e.g. 2.7.0 to 3.0.0)
- Upgrading a Minor Version (e.g. 2.5.3 to 2.6.1)
- Upgrading a Patch Version (e.g. 2.6.0 to 2.6.1)