昨天,我们虽然没有写几行的php代码,却实现了不少功能。symfony管理程序生成器(admin generator) 就是这样一个好工具,可以让开发者快速开发后台界面。
今天,我们将学习symfony如何在HTTP请求之间进行数据传递。你可能知道,HTTP协议 是无状态协议,也就是说前后两次请求之间相对独立,后次请求不能直接获得前次请求的内容 (如传递的参数)。而现代网站则需要在不同的请求间传递数据,以保证用户持续的使用数据, 从而提高用户体验。
使用cookie可以识别用户会话(session)。symfony中,开发者不需要直接操作session,
可以使用代表终端用户应用的sfUser对象。
临时存储器(User Flashes)
我们已经在动作里使用的临时存储器(flash)。临时存储器 用来存储用户会话中临时信息,这些临时信息会在下次请求之后立刻被删除。 当你需要在重定向页面后,给用户发送提示信息时,最适合使用临时存储器。
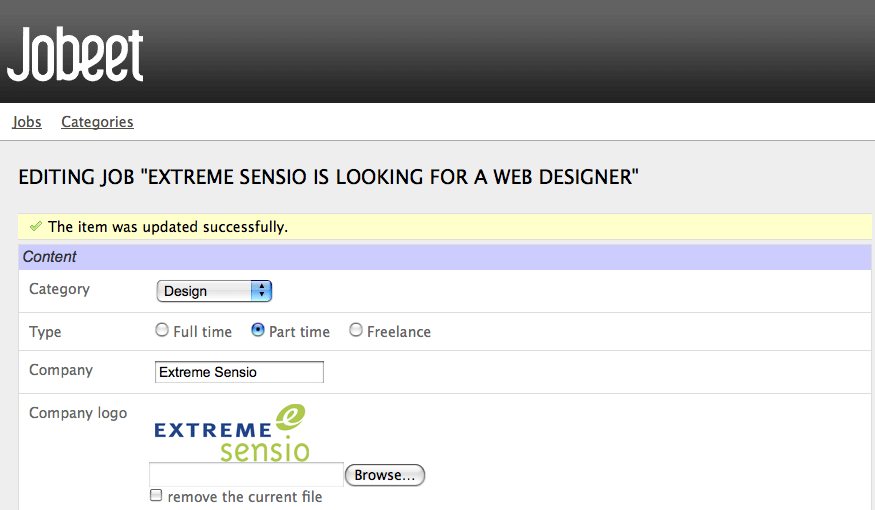
在用户保存、删除job或扩展有效期时,管理程序生成器(admin generator) 也是使用临时存储器为用户传递反馈信息。

临时存储器可以使用sfUser的setFlash()方法设置:
// apps/frontend/modules/job/actions/actions.class.php
public function executeExtend(sfWebRequest $request)
{
  $request->checkCSRFProtection();

  $job = $this->getRoute()->getObject();
  $this->forward404Unless($job->extend());

  $this->getUser()->setFlash('notice', sprintf('Your job validity has been extend until %s.', date('m/d/Y', strtotime($job->getExpiresAt()))));

  $this->redirect($this->generateUrl('job_show_user', $job));
}
setFlash()方法的第一个参数是存取器标识符(名称),第二个参数是要显示的信息。
你可以随意定义存取器标识符,通常notice和error是最常用的两个(管理发生器使用它们)。
开发者可以在模板中引用这些信息,Jobeet中,我们在layout.php中输出这些临时信息:
// apps/frontend/templates/layout.php
<?php if ($sf_user->hasFlash('notice')): ?>
  <div class="flash_notice"><?php echo $sf_user->getFlash('notice') ?></div>
<?php endif; ?>

<?php if ($sf_user->hasFlash('error')): ?>
  <div class="flash_error"><?php echo $sf_user->getFlash('error') ?></div>
<?php endif; ?>
在模板中,可以通过$sf_user变量直接调用方法。
note
许多symfony对象都可以在模板中通过相应的变量直接调用,不需要通过动作传递,
如:sf_request, sf_user和sf_response。
用户属性(User Attributes)
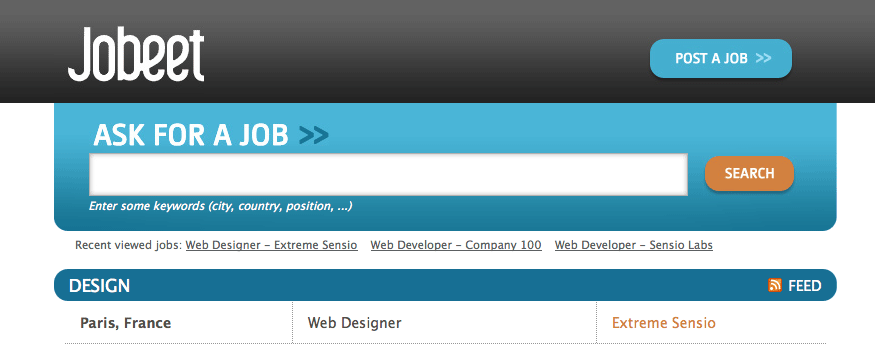
不过,目前Jobeet并没有需要使用会话的功能,我们现在添加一个新需求:在菜单中显示 用户最后浏览的3条招聘信息链接。
当用户访问一个招聘信息页面时,相应的job对象将被添加到用户历史并存储到会话中:
// apps/frontend/modules/job/actions/actions.class.php
class jobActions extends sfActions
{
  public function executeShow(sfWebRequest $request)
  {
    $this->job = $this->getRoute()->getObject();

    // fetch jobs already stored in the job history
    $jobs = $this->getUser()->getAttribute('job_history', array());

    // add the current job at the beginning of the array
    array_unshift($jobs, $this->job->getId());

    // store the new job history back into the session
    $this->getUser()->setAttribute('job_history', $jobs);
  }

  // ...
}
note
虽然可以将JobeetJob对象直接存储到会话中。但我们不建议把对象存储到会话里, 因为在请求的时候会话变量将被串列化。加载会话时,JobeetJob被执行去串列化, 如果其间这些对象被修改或删除,去串列化将不能进行,加载进程将被“卡住(stalled)”。
getAttribute(), setAttribute()
sfUser::getAttribute()通过标识符从用户会话中取值。相对的,setAttribute()方法
可以将任何php变量存储到指定标识符的会话中。
getAttribute()方法有一个可选参数,当标识符没有定义时,这个参数的值作为默认值返回。
note
getAttribute()是下面语句的快捷方式:
if (!$value = $this->getAttribute('job_history'))
{
  $value = array();
}
The myUser class
为了遵循代码分离原则,我们将代码移动到myUser中。myUser类重写了默认的symfony的
sfUser 基类
// apps/frontend/modules/job/actions/actions.class.php
class jobActions extends sfActions
{
  public function executeShow(sfWebRequest $request)
  {
    $this->job = $this->getRoute()->getObject();

    $this->getUser()->addJobToHistory($this->job);
  }

  // ...
}

// apps/frontend/lib/myUser.class.php
class myUser extends sfBasicSecurityUser
{
  public function addJobToHistory(JobeetJob $job)
  {
    $ids = $this->getAttribute('job_history', array());

    if (!in_array($job->getId(), $ids))
    {
      array_unshift($ids, $job->getId());

      $this->setAttribute('job_history', array_slice($ids, 0, 3));
    }
  }
}
这段代码修改好的代码,已经实现了我们刚才添加的需求:
!in_array($job->getId(), $ids): 一个job不会在history中存储2次。array_slice($ids, 0, 3): 只显示最后3个被浏览的job。
在layout的$sf_content输出之前加入下面的代码:
// apps/frontend/templates/layout.php
<div id="job_history">
  Recent viewed jobs:
  <ul>
    <?php foreach ($sf_user->getJobHistory() as $job): ?>
      <li>
        <?php echo link_to($job->getPosition().' - '.$job->getCompany(), 'job_show_user', $job) ?>
      </li>
    <?php endforeach; ?>
  </ul>
</div>

<div class="content">
  <?php echo $sf_content ?>
</div>
layout使用新建的getJobHistory()方法获取当前job历史:
// apps/frontend/lib/myUser.class.php
class myUser extends sfBasicSecurityUser
{
  public function getJobHistory()
  {
    $ids = $this->getAttribute('job_history', array());

    if (!empty($ids))
    {
      return Doctrine::getTable('JobeetJob')
        ->createQuery('a')
        ->whereIn('a.id', $ids)
        ->execute();
    }
    else
    {
      return array();
    }
  }

  // ...
}

sfParameterHolder
为完成job历史接口(API),我们添加重置history方法:
// apps/frontend/lib/myUser.class.php
class myUser extends sfBasicSecurityUser
{
  public function resetJobHistory()
  {
    $this->getAttributeHolder()->remove('job_history');
  }

  // ...
}
用户属性由sfParameterHolder对象管理。getAttribute()和setAttribute()方法是
getParameterHolder()->get()和getParameterHolder()->set()的替代方法。
因为sfUser中的remove()没有替代方法,所以需要直接使用参数控制器(parameter holder)。
note
sfRequest可以也使用sfParameterHolder
类存储参数。
程序安全(Application Security)
权限(Authentication)
同其它symfony功能一样,程序安全(security|Security)也可以通过YAML文件security.yml
来管理。你可以在config/目录下发现后台程序的默认配置:
# apps/backend/config/security.yml
default:
  is_secure: off
如果将is_secure项设为on,只有认证用户才能进入后台程序。

tip
在YAML文件中,布尔型可以定义为true 、false, 或者 on 、off。
如果你看了调试工具栏的日志(log),你将注意到defaultActions类的executeLogin()
方法被所有页面调用。

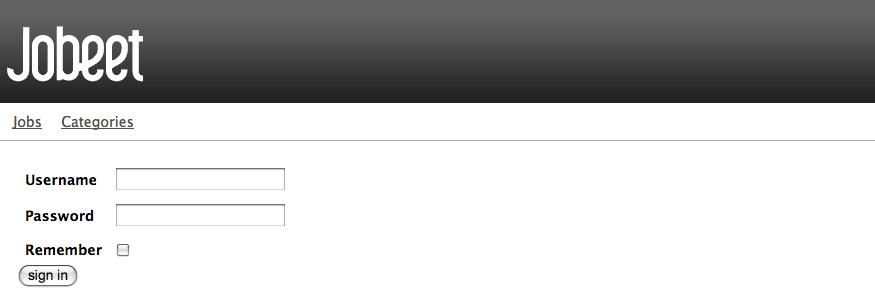
当一个没有认证的用户访问受保护的动作,symfony转送请求到login动作,这个动作在
settings.yml中设置:
all:
  .actions:
    login_module: default
    login_action: login
note
login动作不能被保护,会造成死循环。
tip
象我们第4天教程看到的一样,同样的配置文件可以定义到不同位置。这对security.yml
同样有效。在模块的config/目录下创建security.yml你可以选择设置保护(或不保护)
某一个动作或整个模块:
index:
  is_secure: off

all:
  is_secure: on
默认情况下,myUser类继承sfBasicSecurityUser
而不是sfUser。sfBasicSecurityUser提供更多的方法管理验证和授权。
管理用户认证使用isAuthenticated()和setAuthenticated()方法:
if (!$this->getUser()->isAuthenticated())
{
  $this->getUser()->setAuthenticated(true);
}
权限(Authorization)
用户通过验证后,可以访问一些动作,但需要证书(credentials|Credentials)的动作仍然不能访问。 用户必须拥有要求的证书才能访问这些页面:
default:
  is_secure:   off
  credentials: admin
symfony的证书系统非常简单而强大。证书可以向程序安全模型(如用户组和用户权限)说明你要做的事。
为管理用户证书,sfBasicSecurityUser提供了几个方法:
// 添加一个或多个证书
$user->addCredential('foo');
$user->addCredentials('foo', 'bar');

// 检查用户是否有某证书
echo $user->hasCredential('foo');                      =>   true

// 检查用户是否同时拥有证书
echo $user->hasCredential(array('foo', 'bar'));        =>   true

// 检查用户是否有其中一个证书
echo $user->hasCredential(array('foo', 'bar'), false); =>   true

// 移除一个证书
$user->removeCredential('foo');
echo $user->hasCredential('foo');                      =>   false

// 移除全部证书 (处理登出的时候很有用)
$user->clearCredentials();
echo $user->hasCredential('bar');                      =>   false
Jobeet后台只要一个管理员就足够了,所以不需要任何证书。
插件(Plugins)
我们不喜欢重复制造轮子,所以我们不会从新开发一个login动作,我们将安装一个symfony插件(plugin|Plugins).
plugin ecosystem是symfony框架一个非常 强大的功能。以后我们会看到,它是如何轻松创建一个插件。而且很强大,因为一个插件 可以包括从配置文件到模块和资源的任何东西。
今天我们将安装
sfDoctrineGuardPlugin保护后台程序:
$ php symfony plugin:install sfDoctrineGuardPlugin
plugin:install命令通过名称安装插件。所有的插件都位于plugins/目录下,
以插件名命名的目录下。
note
plugin:install需要PEAR支持。
当你用plugin:install安装插件时,symfony将从网络安装最新的稳定版。如果安装
别的版本的插件,使用--release选项。
plugin page
有symfony各版本的插件。
因为插件自动加载到目录,所以你可以下载
download the package
解压缩到目录中,或使用svn:externals链接
Subversion repository。
tip
Remember to make sure the plugin is enabled after you install it if you did
not use the enableAllPluginsExcept() method in your config/ProjectConfiguration.class.php class.
后台安全
每个插件都有README 文件,用来说明使用和配置方法。
让我们看一下如何配置新插件。因为插件提供几个新model类管理用户、用户组和用户权限, 所以需要重建model:
$ php symfony doctrine:build-all-reload
tip
记住使用doctrine:build-all-reload命令会移除所有已存在表。
为避免这样,你可以先创建models、forms 和 filters,然后通过运行data/sql中的SQL文件导入。
一如往常,当新类创建时,需要清空缓冲(cache|Cache):
$ php symfony cc
因为sfDoctrineGuardPlugin增加了几个方法到User类,你需要将myUser的base类改成sfGuardSecurityUser:
// apps/backend/lib/myUser.class.php
class myUser extends sfGuardSecurityUser
{
}
sfDoctrineGuardPlugin provides a signin action in the sfGuardAuth module
to authenticate users.
Edit the settings.yml file to change the default action used for the login
page:
# apps/backend/config/settings.yml
all:
  .settings:
    enabled_modules: [default, sfGuardAuth]

    # ...

  .actions:
    login_module:    sfGuardAuth
    login_action:    signin

    # ...
As plugins are shared amongst all applications of a project, you need to
explicitly enable the modules|Module you want to use by adding them in the
enabled_modules setting|enabled_modules (Setting).
因为插件可以被项目中的所有程序共用,你需要通过enabled_modules设置需要使用插件的模块。

最后一步设置管理员:
$ php symfony guard:create-user fabien SecretPass
$ php symfony guard:promote fabien
tip
sfGuardPlugin提供通过命令行管理用户、用户组和用户权限的功能。Use the list task to list all task
belonging to the guard namespace:
$ php symfony list guard
当用户没有认证(authenticated|Authentication~)时,我们需要隐藏菜单:
// apps/backend/templates/layout.php
<?php if ($sf_user->isAuthenticated()): ?>
  <div id="menu">
    <ul>
      <li><?php echo link_to('Jobs', '@jobeet_job_job') ?></li>
      <li><?php echo link_to('Categories', '@jobeet_category_category') ?></li>
    </ul>
  </div>
<?php endif; ?>
当用户已认证时,在菜单中显示logout链接:
// apps/backend/templates/layout.php
<li><?php echo link_to('Logout', '@sf_guard_signout') ?></li>
tip
用app:routes可以列出sfGuardPlugin的全部路由。
再加工一下Jobeet后台,我们添加一个管理用户的模块。sfGuardPlugin也提供了这个模块。
象使用sfGuardAuth一样我们要修改settings.yml:
// apps/backend/config/settings.yml
all:
  .settings:
    enabled_modules: [default, sfGuardAuth, sfGuardUser]
添加链接到菜单:
// apps/backend/templates/layout.php
<li><?php echo link_to('Users', '@sf_guard_user') ?></li>

完成!
User Testing
今天的教程还没有结束,因为我们还没有进行测试。因为symfony浏览器可以模拟cookie,
所有我们可以使用内建的sfTesterUser
测试器进行测试。
让我们更新功能测试,添加对今天建立的菜单的测试。添加下面的代码到job模块功能测试的结尾处:
// test/functional/frontend/jobActionsTest.php
$browser->
  info('4 - User job history')->

  loadData()->
  restart()->

  info('  4.1 - When the user access a job, it is added to its history')->
  get('/')->
  click('Web Developer', array(), array('position' => 1))->
  get('/')->
  with('user')->begin()->
    isAttribute('job_history', array($browser->getMostRecentProgrammingJob()->getId()))->
  end()->

  info('  4.2 - A job is not added twice in the history')->
  click('Web Developer', array(), array('position' => 1))->
  get('/')->
  with('user')->begin()->
    isAttribute('job_history', array($browser->getMostRecentProgrammingJob()->getId()))->
  end()
;
为了方便测试,我们重新载入测试数据、重启浏览器,重新开始一个会话。
isAttribute()方法测试指定的用户属性(user attribute)。
note
sfTesterUser测试器也提供isAuthenticated()和hasCredential()方法,测试用的验证和许可。
明天见
symfony的User类是管理PHP会话的一个好方法。通过与symfony插件系统和
sfGuardPlugin插件的结合,几分钟内我们的Jobeet后台就已经等待安全保护。
我们甚至还添加了一个干净的界面来管理我们的管理员用户,感谢这个插件
给我们提供的模块。
This work is licensed under the Creative Commons Attribution-Share Alike 3.0 Unported License license.